Step 1: Material Preparation
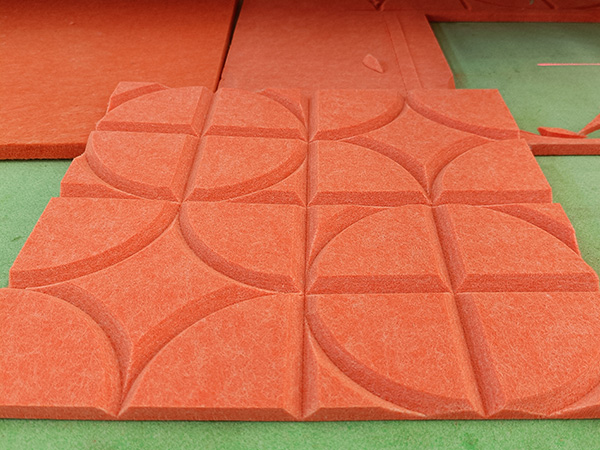
The material we are working with is a 9mm thick polyester fiber acoustic panel. This material is ideal for acoustic treatments and decorative wall panels due to its sound absorption properties and flexibility in processing.
Material: 9mm Polyester Fiber Acoustic Panel
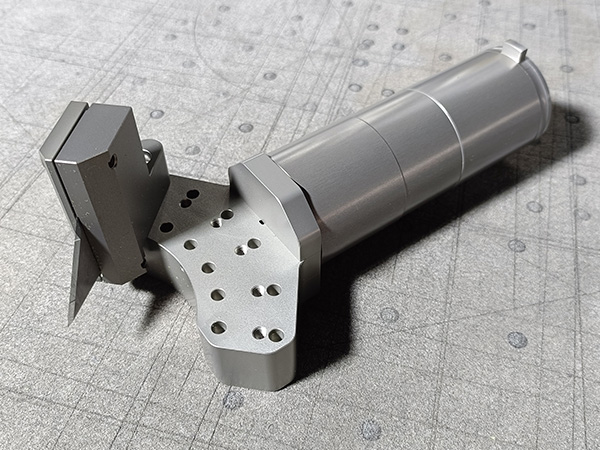
Tool Configuration: Dual tool holder equipped with an oscillating knife tool and a bevel cutting tool (for grooving).

Step 2: Setting Up the Machine and Tools
We begin by configuring the CNC machine with the appropriate tools:
Oscillating Knife Tool: For precise cutting of the panel’s contour, both straight and curved edges.
Bevel Cutting Tool: For V-grooving along the straight and curved lines. This tool is set to specific angles (45° 、30°、 22.5° and15°) depending on the design.(How to Install a Bevel Cutting Tool for V Grooving)
Before starting the actual cutting process, it is essential to set up the machine and tools correctly to avoid material wastage due to incorrect configurations. Here’s what we do:
Blade Installation: First, we ensure that the blades are installed properly. The orientation and sharpness of the blade must be verified to guarantee accurate cutting. (How to Install a Blade for an Oscillating Cutting Tool)
Cutting Depth and Speed Settings: Next, we configure the cutting depth and speed for the oscillating knife tool. This ensures that the material is cut with precision, without causing any damage or incomplete cuts.(How to set the cutting depth for oscillating cutting tools)
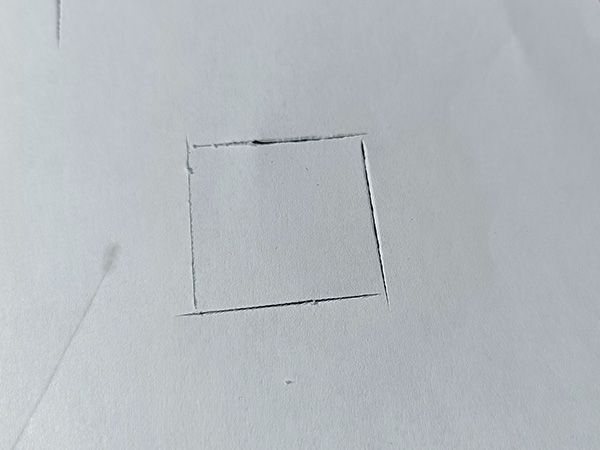
Pre-Cutting Test: Once all the settings are configured, it’s crucial to perform a pre-cutting test to ensure everything is set up correctly. This test is divided into two parts:
- Oscillating Knife Depth Test: We test the cutting depth of the oscillating knife to verify that it cuts through the material properly without over-penetrating or undercutting.
- V-Groove Tool Test: We also test the V-grooving tool to check the groove depth and ensure that the groove is clean and accurate. We carefully inspect the results to make sure the angles and depths are perfect.

Once all the tests are confirmed to be accurate and the setup is validated, we proceed to the next step of the production process.
Step 3: Programming the Design
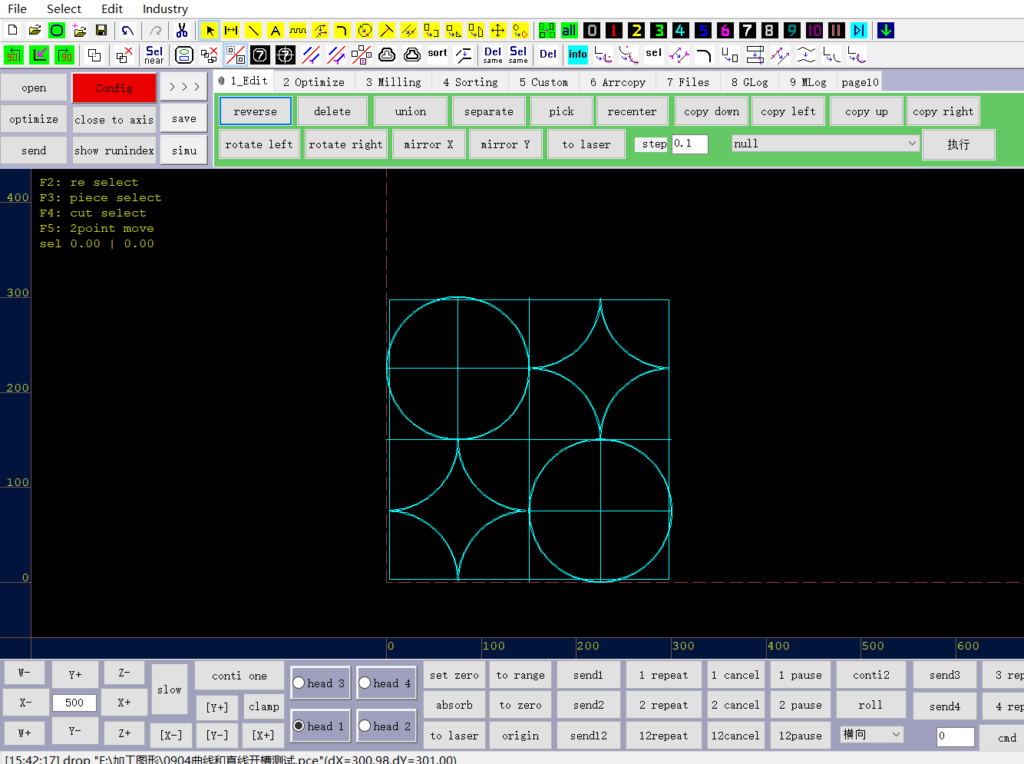
We need to set up the CNC machine software to differentiate between the grooving and cutting tasks by assigning specific SP operation numbers to each design part. An SP operation number is a code that identifies a particular task or toolpath in the machine’s programming, allowing the machine to call different tools for different operations.
Assigning SP Operation Numbers:
For the grooving paths, we assign SP5 as the operation number. This tells the machine to use the V-grooving tool for this part of the process.(What is the “SP” operation number)
For the cutting paths, we assign SP6 as the operation number. This directs the machine to use the oscillating knife tool to cut the contour of the panel. (How to curve grooves for acoustic panels)
Setting Grooving Directions:
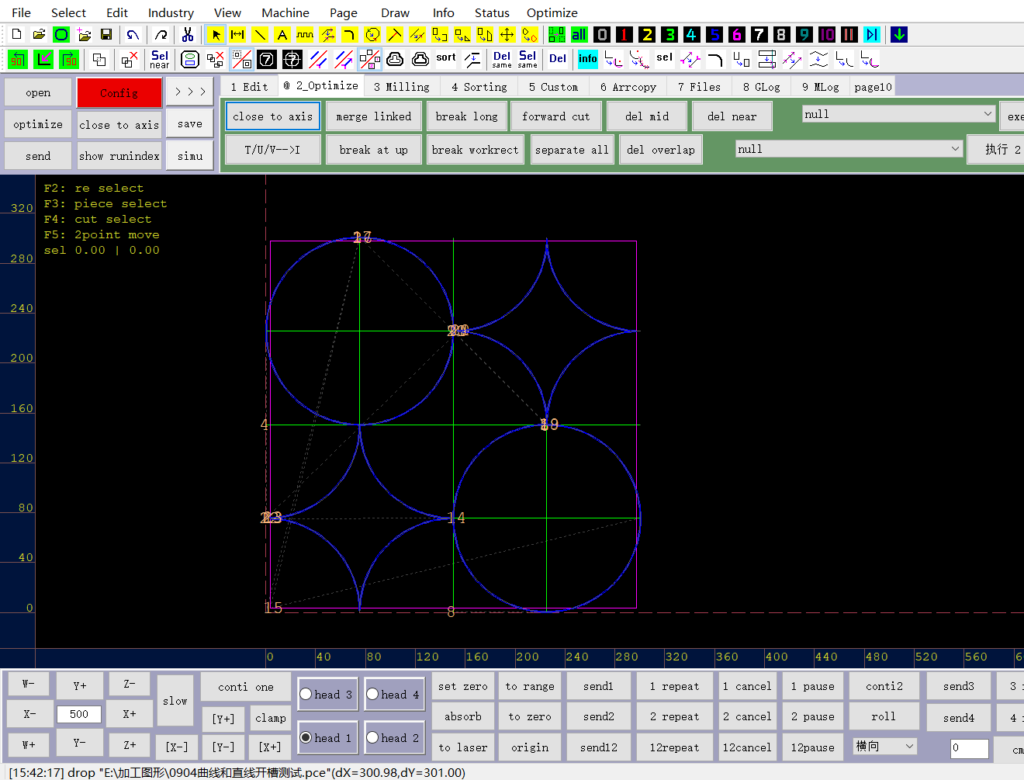
When setting up the grooving design, defining two different processing directions is essential. This is done to ensure that the grooving tool approaches the material from multiple angles to achieve the most accurate groove. In the software, this can be set by selecting the direction of the toolpath (clockwise or counterclockwise) for each groove.
Properly configuring these directions ensures that the grooves are clean and consistent, especially on curved sections where tool orientation can affect the groove quality.

Duplicating Overlapping Line Segments:
It’s important to copy and paste the line segments directly within the software for the overlapping blue line segments in the grooving design. This ensures that the tool follows the same path precisely when it processes the material. In the design program, you can simply select the line, copy it, and paste it directly over the original to create an identical, overlapping toolpath.
Setting the Cutting Sequence:
After assigning the SP operation numbers, it’s critical to set the cutting sequence. This determines the order in which the machine executes each operation. We follow the principle of “groove first, cut later” to avoid any material movement or misalignment during the cutting process.
In the software, this can be done by organizing the sequence of operations. The grooving (SP5) will be placed first, followed by the cutting (SP6). This ensures that all grooves are completed before the outer contour is cut.
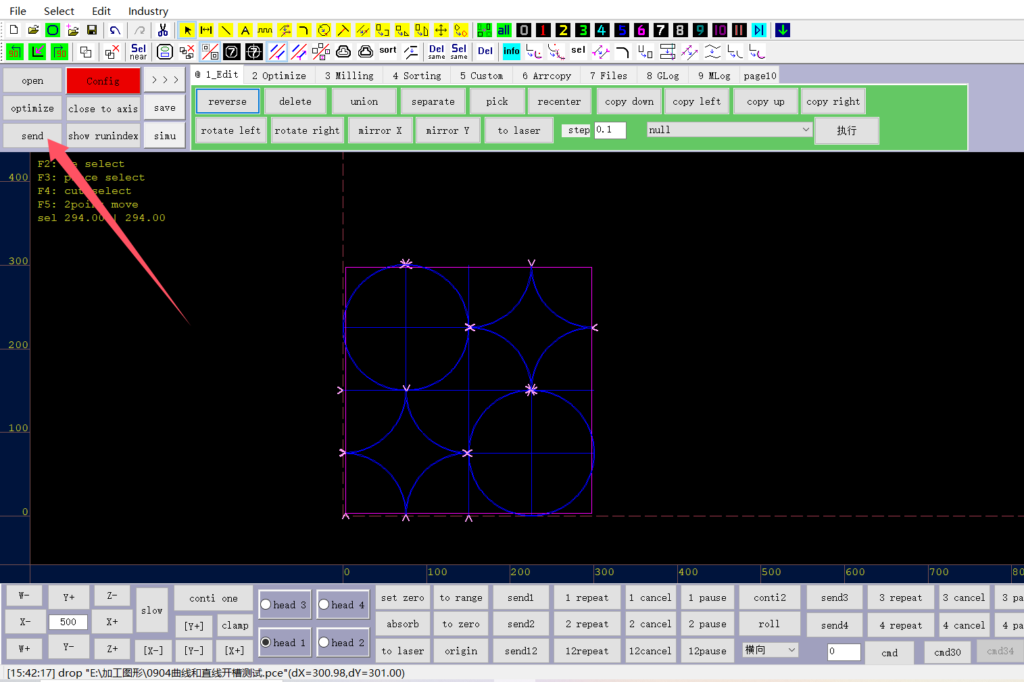
Sending the Design to the Machine:
Once the cutting sequence is confirmed, the final step is to send the design file to the machine. This can be done by sending it to the CNC machine via a network connection.
After the file is uploaded, the machine prompts “successfully received” and the slotting and cutting operations can be started according to the set instructions. After we have completed the correct setting sequence, click “Repeat” and the machine will start working.
Step 4: Grooving and Cutting Process
Once the machine has been set up and the design file uploaded, we begin the grooving and cutting operations. During this step, it is crucial for the operator to remain present at the machine throughout the entire process to ensure everything runs smoothly.
Ensuring Material Stability:
Before starting the process, make sure the vacuum pump is activated. This is essential to securely hold the material in place on the cutting bed, preventing any movement during the operation. A stable material foundation is critical for precise cutting and grooving.
Monitoring the Process:
The operator should carefully monitor the entire grooving and cutting process. The machine will follow the programmed sequence, completing the grooving operations first and then moving on to the cutting phase as per the order set in the previous steps.
During the operation, the operator needs to observe the machine’s performance, ensuring that no issues arise that could impact the quality of the work.
Managing Waste Materials:
As the machine grooves and cuts the material, small waste pieces may accumulate on the cutting table. It is important to remove any debris or waste material that could interfere with the machine’s operation or obstruct the cutting path. Clearing these materials promptly ensures the cutting process remains uninterrupted and smooth.
Completion of the Process:
Following the set sequence, the machine will first complete the grooving operations (SP5) before moving on to the cutting (SP6). By adhering to the order of operations, the machine ensures that grooves are properly placed before cutting the final contour of the panel, resulting in an accurate and high-quality product.

Step 5: Quality Check and Finishing
After the cutting and grooving processes, we perform a quality check to ensure all dimensions, cuts, and grooves are accurate. The panel is inspected for smoothness, precision of the grooves, and edge quality.
The final result is a precisely cut and grooved polyester fiber acoustic panel that can be used in various acoustic applications. The combination of straight and curved grooves allows the panel to be folded and shaped into unique, functional designs for wall installations.
Conclusion:
By using AMOR CNC’s oscillating knife cutting machine with the dual tool holder configuration, we successfully created a complex sound-absorbing panel with both straight and curved grooving, as well as precise cutting. This case demonstrates how easily customers can replicate this process to create customized acoustic panels or other products using non-metallic materials like polyester fiber.