Hello everyone, I’m John from AMOR CNC.
Today, I’m here to guide you through the essential maintenance steps for your vibrating knife tool, ensuring its longevity and optimal performance.
Let’s dive right in.
First, Clean Dust from the Bottom of Tools
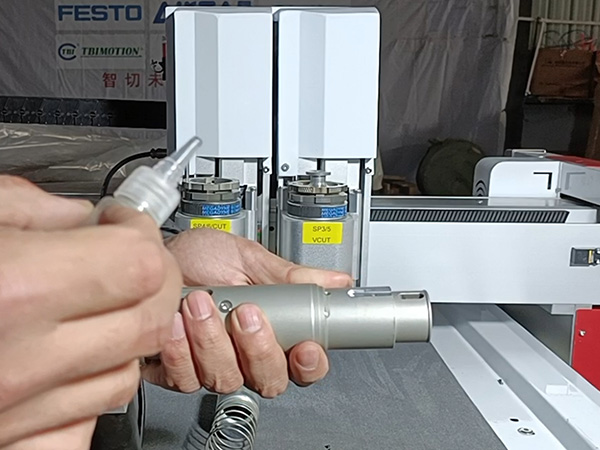
Remove the tool, and unplug the aviation plug.
Turn the bolt counterclockwise to align the gap and gently pull out the tool.
Next, remove the knife cap.
We’ll use an air gun to blow off any dust from the bottom of the tool, ensuring it’s clean.

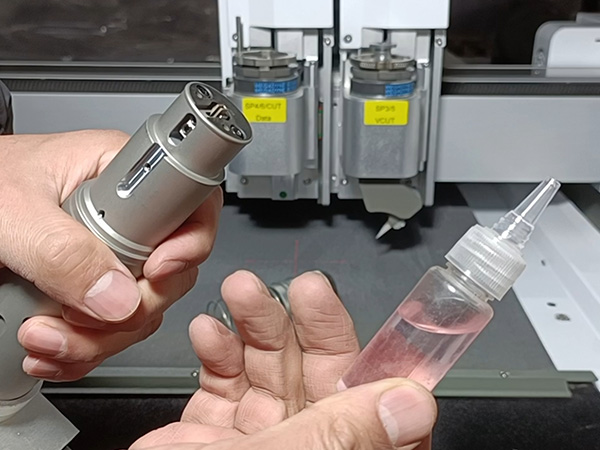
Drop Sewing Machine Oil into the Bottom of the Tool
Now, it’s time to remove the blade.
Use an M2 wrench to loosen the fixing screw of the blade
Add 2-3 drops of sewing machine oil or transparent pneumatic oil to lubricate.
This helps in keeping the tool’s movement smooth.
After oiling, plug in the aviation plug.
Hold the handle of the tool with your hand
Go to the control panel, select ‘Adjust,’ and then ‘Cut’ to make the tool vibrate for about 30 seconds
Turn off the vibration,
This maintenance is done once a day.

Step 2: Add Lubricating Oil
Use an Allen wrench to loosen the screw at the oil filling port.
Add 2-3 drops of sewing machine oil,
then tighten the screws back
Every two weeks, it’s important to lubricate the tool.

And that’s it! Remember, daily cleaning and bi-weekly lubrication are key.I hope this tutorial was helpful. For more tips and tricks on maintaining your CNC equipment, stay tuned to AMOR CNC. Thank you for watching.


