Step 1: Installation Preparation and Inspection
First things first, make sure your power setup is ready – you’ll need a 220V/380V configuration and a sturdy copper wire. Also, it’s crucial to have a 3P C63A air switch. Before you start, check if the machine’s packaging is intact. I always compare the contents with the packing list – better safe than sorry, right?

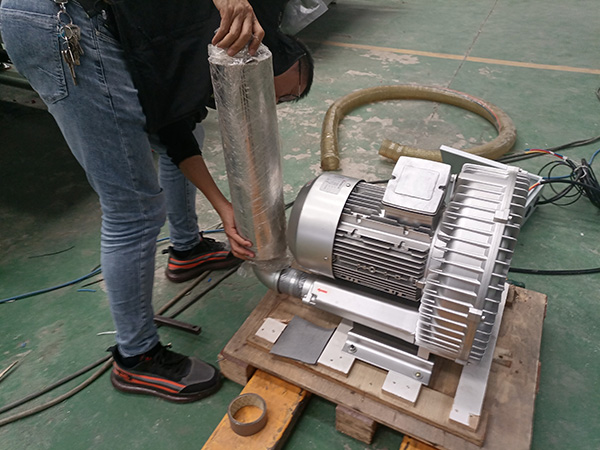
Step 2: Placing the Machine and Connecting Parts
Find a good spot for your machine; you’ll need about 4 square meters. Then, connect the essentials: the control cabinet, vacuum pump, air compressor, and vacuum cleaner. It’s like putting together a high-tech jigsaw puzzle. Make sure every part clicks just right.
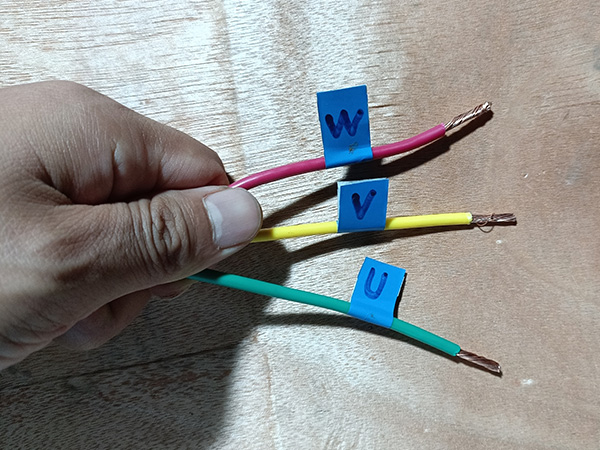
Step 3: Connecting the Power Supply
Now, let’s talk power. Your machine typically needs a 220V power supply, while the vacuum pump will require a 380V source. Always double-check these connections – you don’t want any surprises later!
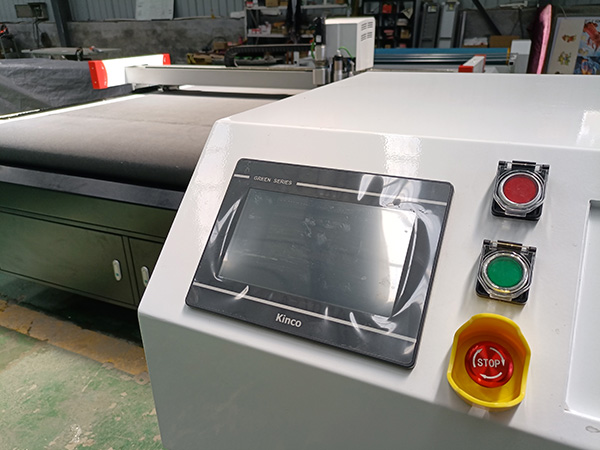
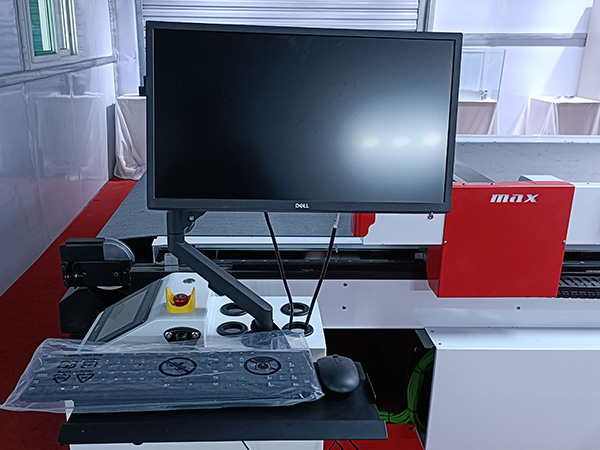
Step 4: Starting the Machine
Time to bring it to life! Turn on the power switch and boot up the control system. Click the “Origin” button to reset the machine to its starting position. It’s like saying ‘hello’ to your new mechanical buddy.
Step 5: Platform Height Data Detection
Accuracy is key, so pay attention here. Install the leveling tool correctly to measure the platform’s height data. This step ensures that your machine cuts with precision – we don’t want any lopsided results!
Step 6: Installing the Control Software
Your machine is smart, but it needs the right software to show its full potential. Install the control software on your computer – it’s the brain of the operation. Follow the instructions carefully; this is what makes your machine tick.

Step 7: Connecting Machine and Computer
Almost there! Connect the machine to your computer. Set the Ethernet IP to 192.168.0.66 – it’s like giving your machine a digital handshake. Once connected, you can read the machine’s technical parameters and confirm everything is set up correctly.
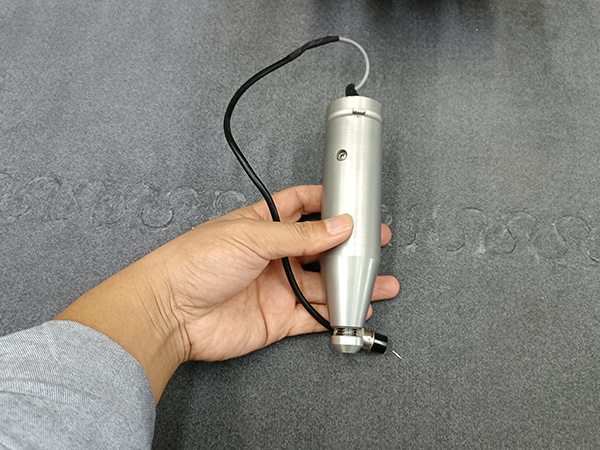
Conclusion
And voila! Your oscillating knife cutting machine is ready to roll. Remember, the right installation sets the stage for flawless operation. Now go ahead, make some amazing products, and remember – a machine well installed is a job half done!
Feeling unsure about installing the oscillating knife cutter? Don’t worry, a step-by-step video guide is coming soon to help you out. Good luck!