From Factory Visit to Final Training
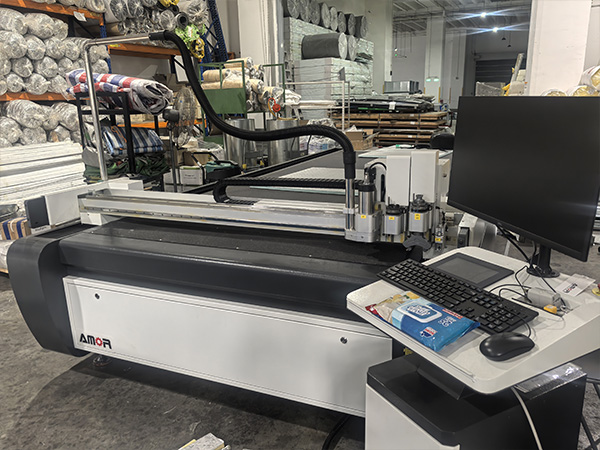
The story began in November 2024, when the client visited our factory to see the machine in action.
In May 2025, after securing raw materials, they placed their order.
By July, the machine had safely arrived in Singapore. With our video tutorials, the client completed installation and wiring on their own. By mid-August, I was on-site for training. Two days—that’s all it takes to master this system.
First Challenge: The Mystery of the Power Cut
The machine was connected to a 380V, 7.5KW vacuum pump.
We pressed start. Suddenly, the power dropped.
At first, the client thought it was the machine. I checked every wire, every circuit. All fine.
The real problem? The factory’s main switch had a leakage protection device. It’s great for small appliances, not for large CNC equipment.
Once replaced, the machine powered up smoothly. Lesson learned: the right switch makes all the difference.
PID vs Phenolic: Material Matters
The client used polyisocyanurate (PID) foam, not phenolic. Both are common in ductwork. But PID is denser, tougher, and harder to process.
In fact, the client told me their old European machine had failed to cut PID cleanly.
With AMOR CNC, it was just a matter of adjusting tool installation and processing data. Once tuned, the cuts were smooth, precise, and burr-free.
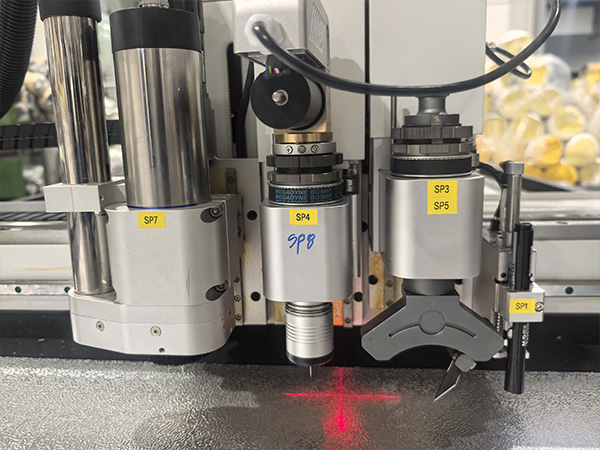
Training Stage 1 – Tools and Basics
I started with the essentials: tool installation, blade setup, cutting depth, and speed.
One golden rule: the cutting edge must face the fixing screws.
The operators practiced repeatedly until their hands moved naturally. Confidence builds fast when you see immediate results.

Training Stage 2 – CAMduct Software
The client already used CAMduct for design, a powerful and widely adopted software. That made training easy.
In just one hour, I showed them the key adjustments for insulated duct production.
We also solved a management issue: design happens in the office, but cutting happens in the workshop. I installed CAMduct on two office PCs and integrated it with the machine.
The client worried about system differences, but experience pays off—I had everything running without extra license fees or annual costs.
Training Stage 3 – From Design to Production
Now came the exciting part: full production workflow.
- The design team created a duct drawing from a rough site sketch.
- They generated a nested DXF file.
- They transferred it by USB to the machine’s control PC.
- The machine executed the cut automatically.
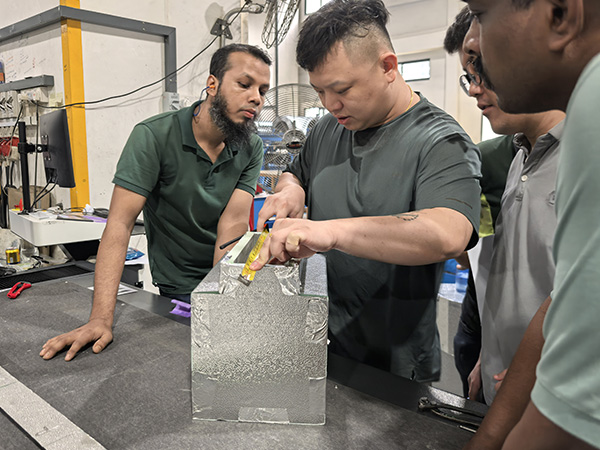
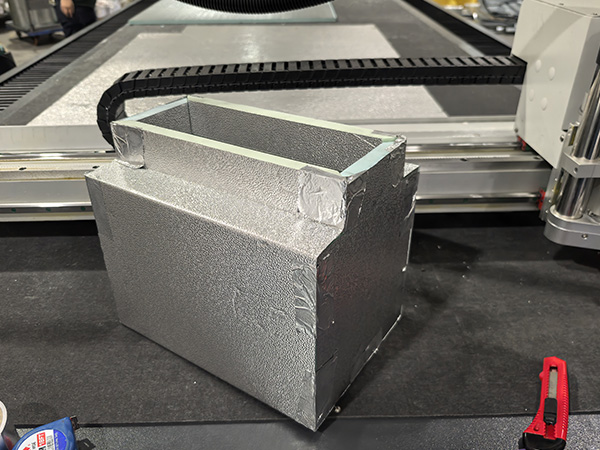
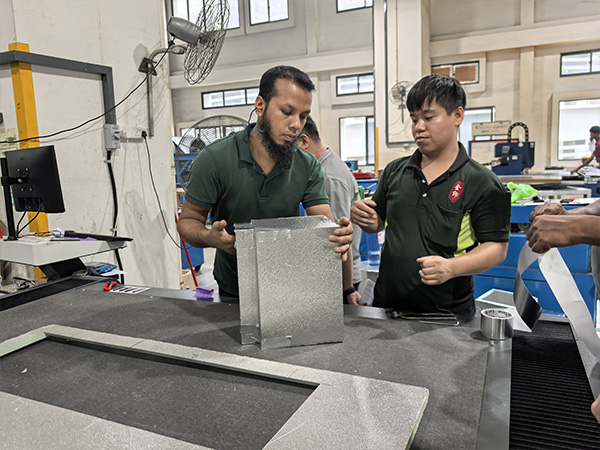
The first sample was assembled on the spot. The dimensions? Perfect. The cuts? Clean.
The client’s designer raised his thumb—always a universal language for “excellent.”
Client Feedback: Confidence Earned
By the end of day two, the operators were confident, the designers were happy, and the management team was reassured.
They saw that AMOR CNC machines could handle PID foam where others had failed.
And they appreciated how quickly their staff became independent—no months of waiting, just two days of focused training.
Conclusion: Why Choose AMOR CNC
This training in Singapore showed more than machine performance. It showed:
Cutting precision that handles both phenolic and PID boards.
Multi-functional tool holders that adapt to different duct requirements.
Seamless software integration with CAMduct, no hidden costs.
Strong after-sales support that solves problems quickly, even unexpected ones like a wrong switch.
In short, the AMOR CNC phenolic foam duct cutting machine turns complex work into simple, intelligent production.
If you’re in the insulated duct industry, it’s time to ask yourself: are you ready to cut smarter, faster, and cleaner?
✅ Final Word: Evaluate your needs carefully. The right CNC duct cutting machine will save you time, reduce waste, and increase product quality. For many companies, AMOR CNC is that machine.