Step1: Correctly Installing the Blade
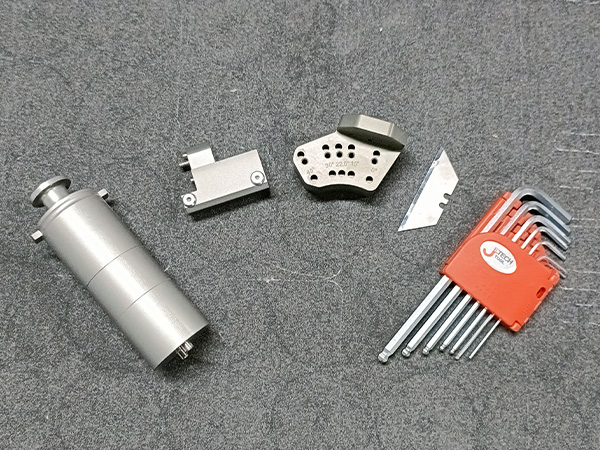
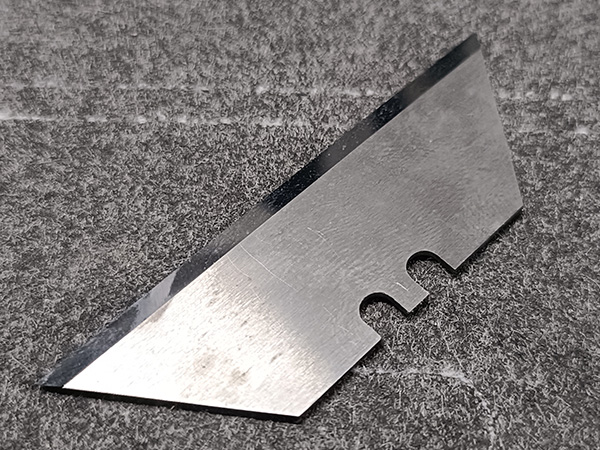
Choosing the right, high-quality grooving blade is crucial for achieving perfect grooves. We recommend the AMOR315 model, made from tungsten steel, which offers strong rigidity and is suitable for deep grooving in high-density materials. It is particularly effective for materials like polyester fiber sound-absorbing panels, honeycomb cardboard, and phenolic foam boards. Its trapezoidal structure and dual positioning slot design allow for the blade to be reused, reducing overall cutting costs.
Installation Steps:
1.1 Loosen the Screws:
Use an Allen wrench to loosen the fixed screws on the blade holder (part 3#).
1.2 Align the Blade:
Position the groove near the tip of the blade to align with the positioning pin. This ensures the blade tip is centered in the tool.
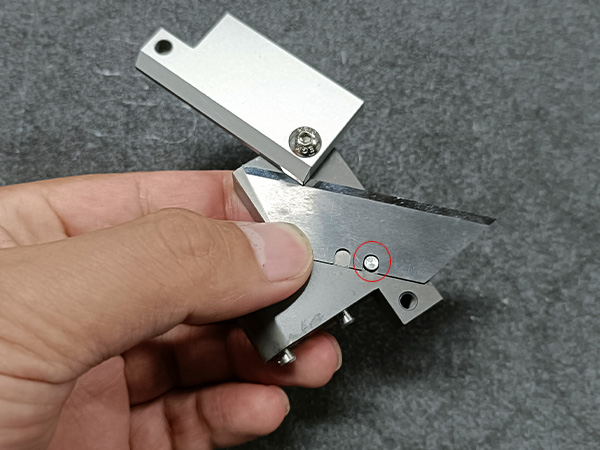
1.3Tighten the Screws:
Once aligned, tighten the screws securely. It’s important to ensure that both screws are tightened evenly to maintain balance and stability.
1.4 Attach the Blade Holder:
Next, fix the blade holder (3#) onto the angle disc (2#). For this example, we will set it at 45 degrees.
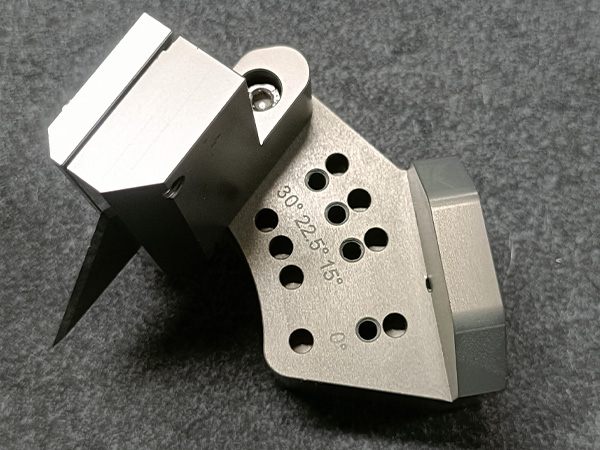
Align the pin on the blade holder with the positioning hole on the angle disc and secure the screw using the allen wrench.
By following these steps, you will have successfully installed the blade, ensuring it is positioned correctly for optimal performance during grooving operations.
Step 2: Installing the Tool
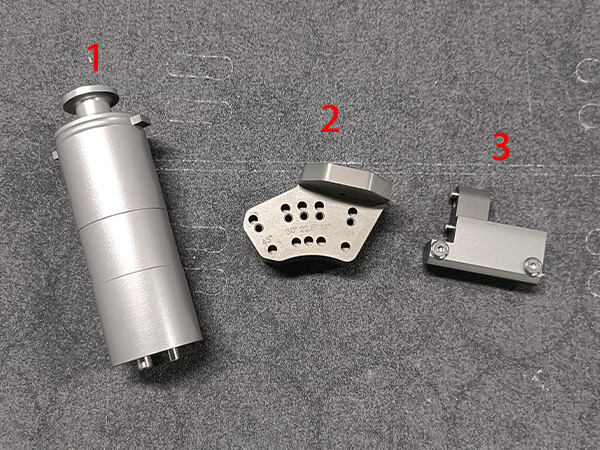
Once the blade has been successfully installed, the next step is to install the upper part of the V-grooving tool (component 1) onto the tool holder.
Installation Steps:
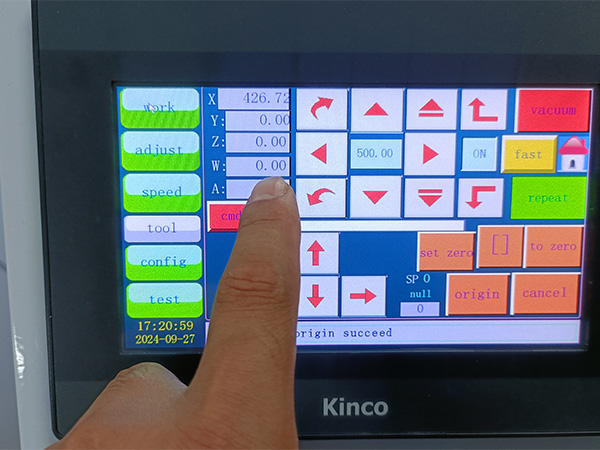
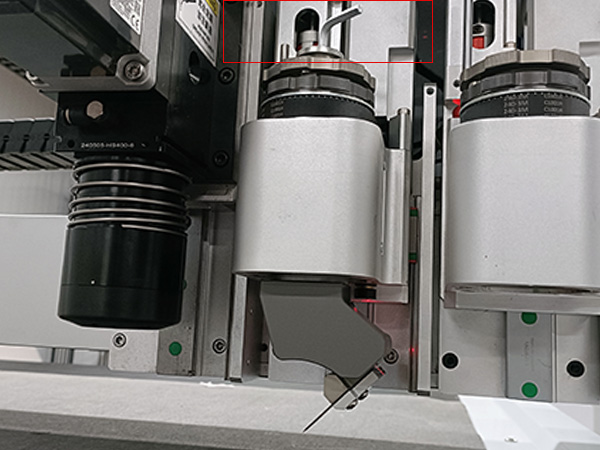
2.1 Check W-Axis Settings:
Before installing the tool, check the machine’s control panel to ensure that the W-axis is set to 0. If it is not, click the box next to the “W” axis to automatically reset it to 0.
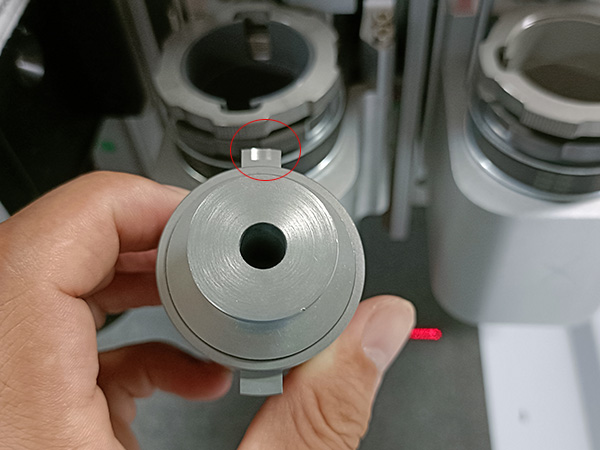
2.2 Install the Upper Part of the V-Grooving Tool (Part 1):
Insert component 1 into the tool holder.
Ensure that the side with the grooved reference point is facing towards the rear of the machine (the X+ direction).
Once the tool rod is inserted, rotate the bolt clockwise to secure it firmly in place.
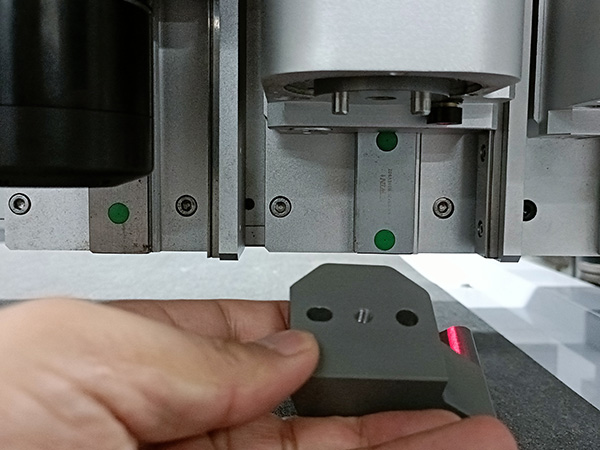
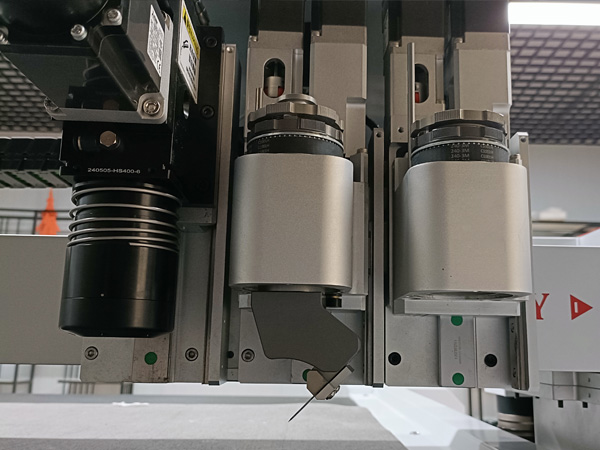
2.3 Connect the Lower Part of the V-Grooving Tool:
Next, attach the lower part of the V-grooving tool (the part containing the blade) to component 1.
Align the slots on the lower part with the pins on component 1 and gently push until they click together. Be sure to match the shape of the slots correctly, as improper alignment will prevent the two parts from connecting.
Secure the Tool:
Once the two parts are connected, use an Allen wrench to tighten the internal fixing screws inside component 1, ensuring everything is securely fastened.
With these steps completed, the V-grooving tool is fully installed and ready for use.
Conclusion
By following these steps, customers can effectively install and use V-grooving tools to achieve high-quality results. Proper setup and adjustments are crucial for maximizing tool performance and ensuring precision in every project.